Quickstart
Get from zero to exploring a RealSim-CP scene in three steps.
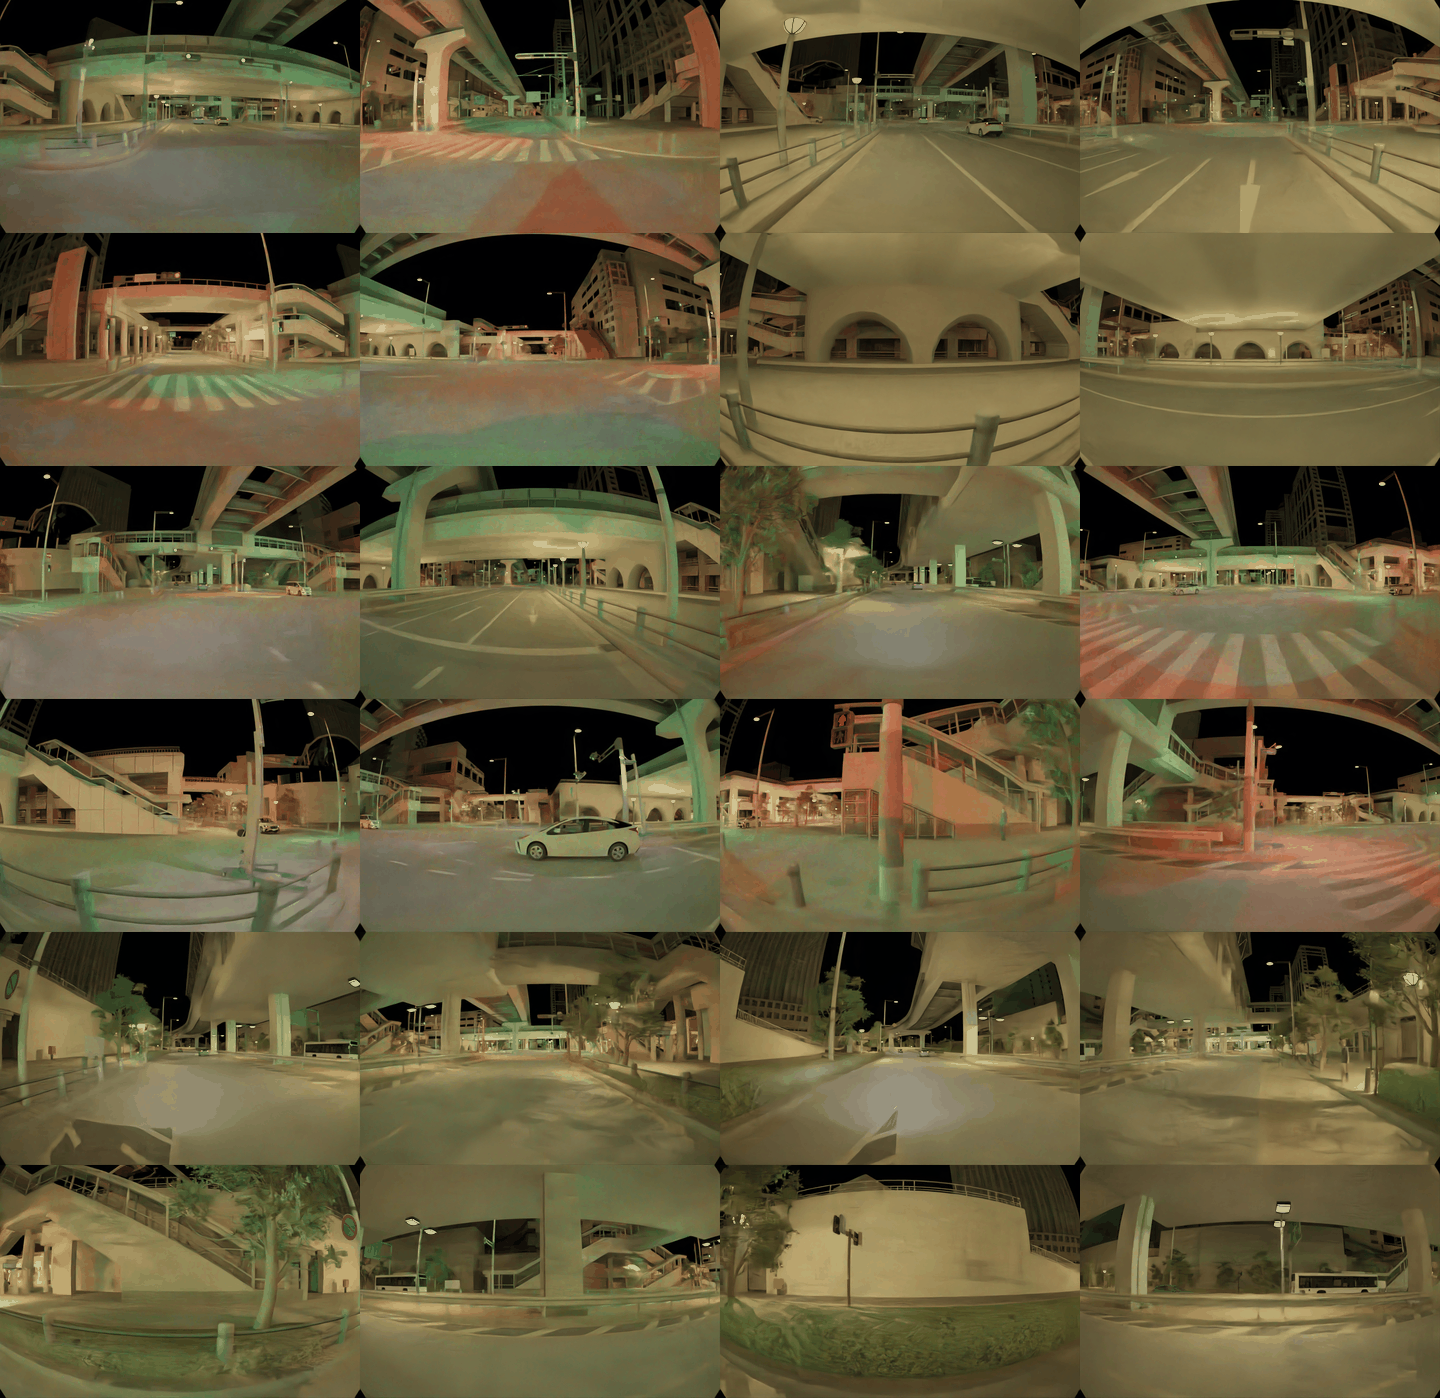
1. Download one scene
Grab a single variant to start — the Daiba night_1 scene has the most
complete sensor coverage.
:material-google-drive: Download RealSim-CP
Download daiba_station_scenario/night_1/ and note its local path, e.g.:
2. Install the visualizer
The RealSim-CP Visualizer is an Open3D desktop viewer. It needs Python 3.12 (Open3D does not yet support 3.14 on Windows).
# from the repository root
cd tools/realsim-cp-visualizer
py -3.12 -m venv .venv
.\.venv\Scripts\activate
python -m pip install -e .
On macOS / Linux:
cd tools/realsim-cp-visualizer
python3.12 -m venv .venv
source .venv/bin/activate
python -m pip install -e .
3. Run it
Point the viewer at the variant folder you downloaded:
You'll get a unified 3D scene with the fused multi-agent point cloud, 3D bounding boxes, and agent markers — plus a per-agent dashboard for inspecting individual camera and LiDAR streams.
Key controls
- Space — play / pause
- ← / → — step one frame
- View buttons — Top / Side / 3D camera presets
- Sidebar — toggle layers, individual agents, all RSUs, all vehicles
- Dashboard — pick an agent, add camera/LiDAR tiles
- Distortion — toggle the
k1…k6camera distortion model - Overlay LiDAR — project LiDAR points onto a camera tile
Full reference: Visualizer.
Prefer code?
To load the data programmatically (no GUI), head to Loading the data for a minimal Python walkthrough of the OpenLABEL file, the transform chain, and cuboid decoding.